These days some people call it a "Zook Arch", named for Bob Zook, who has evolved the design. There is a "Zook Arch Discussion Group"; contact the author if you want to join it.
In its most basic form, it is shaped like half a cylinder, lying along the ground; the standard Quonset Hut shape. Rebar stakes are pounded halfway into the ground at measured locations along two sides of a 20 x 20 foot square. Three 10-foot PVC pipes are connected together into a single 30-foot pipe, threaded onto one rebar stake, and bent to a matching rebar stake on the other side of the square. (This takes 30 feet of pipe to traverse 20 feet along the ground, making a high arch.) A 20 x 30 foot plastic tarp is hauled over the PVC pipes, covering them. Two ropes are run from two guy-stakes outside one open end of the cylinder, to points on the outermost PVC rib that subdivide the rib into roughly three parts. Each rope is tied around the rib, and then passed onward to the next rib. At the other side of the cylinder, the ropes are anchored to two more rebar guy stakes. These ropes pull the ribs apart to help keep the structure from collapsing inward. The guy wires on the outside must be "flagged" for visibility, and their stakes must be covered to avoid foot injuries by near pedestrians.
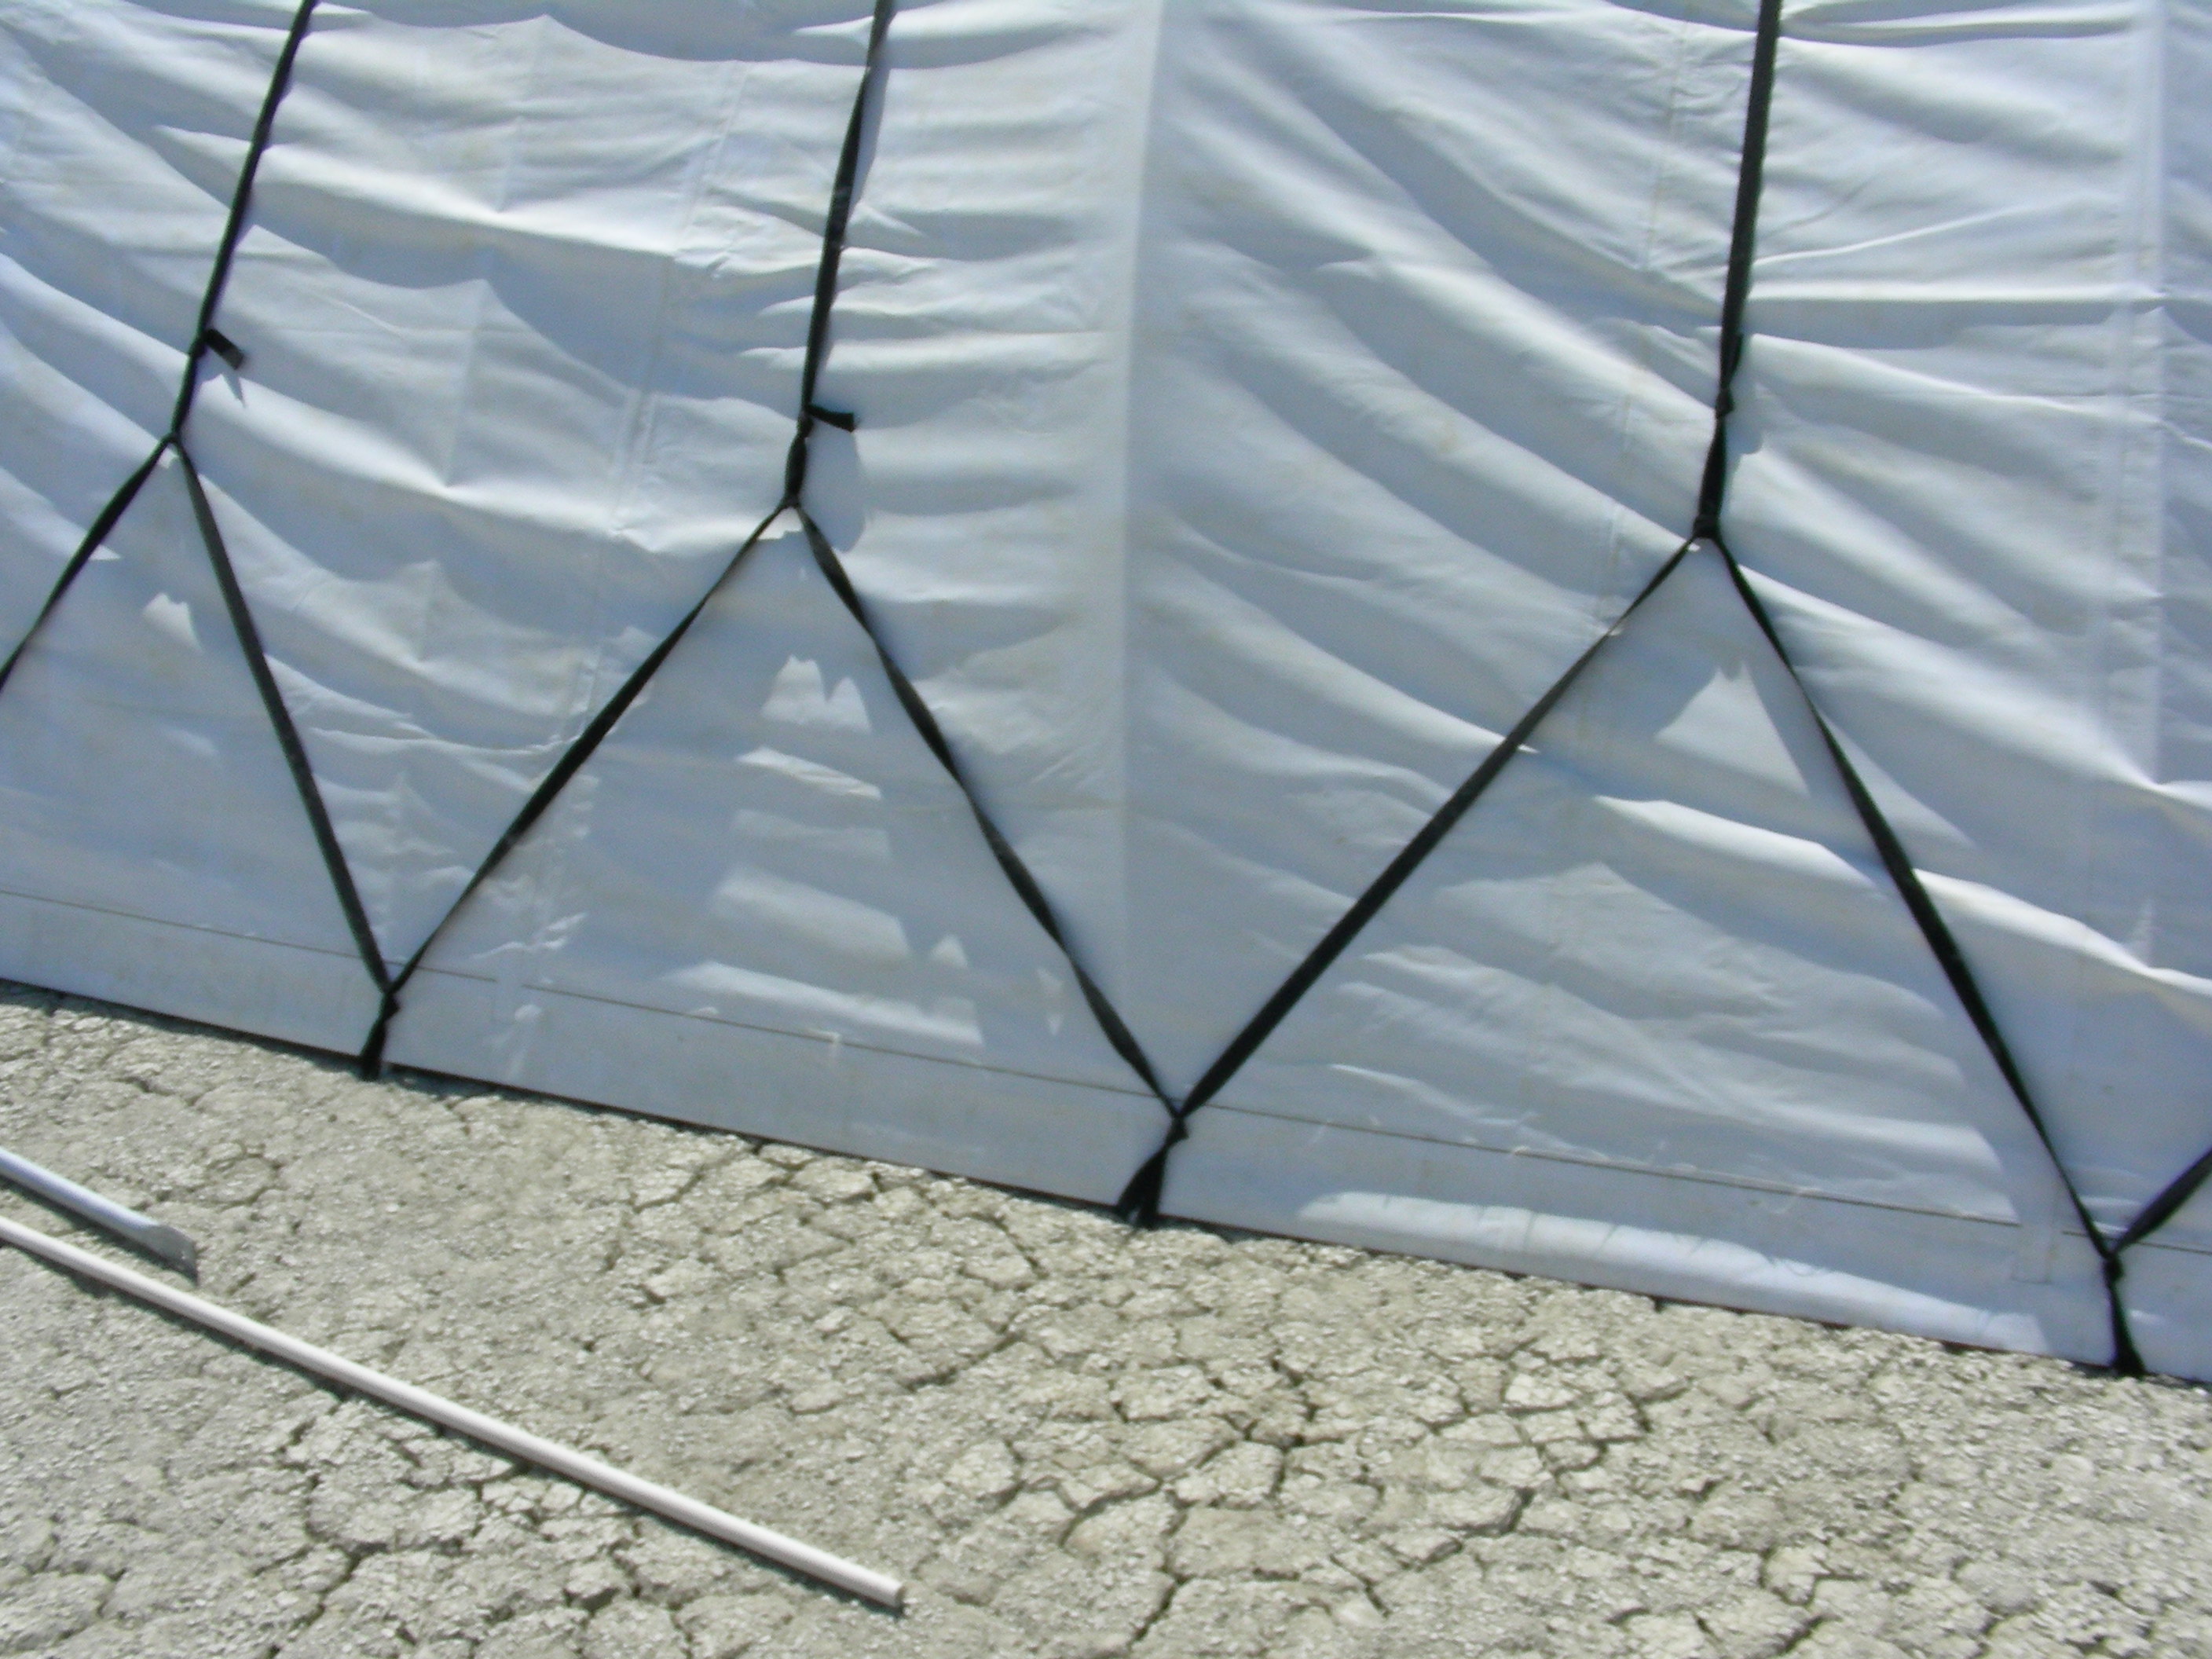
The final detail involves running rope in between the ribs. This corrugates the tarp, holding it down onto the PVC despite high wind, and giving it strength. A smaller rebar stake is planted halfway between each rib end. A rope is tied to the first of these stakes; the rope is thrown across the top of the structure and tied to the matching stake on the other side. Then the rope is run along the bottom of the structure to the next small stake, where it is again tied and thrown back to the other side (now the original side). This zig-zag pattern is repeated until each rib has rope between it and the next rib.
The outermost ribs may be doubled for strength, since they anchor the edges of the tarp. This is simply done by pounding in two rebar stakes next to each other, and putting a rib on each. The tarp can be secured to the outermost ribs by disposable cable ties, or by threading a rope through grommets in the tarp and around the end rib(s).
It is probably easiest to construct the bay by measuring and pounding in the rebar, laying the 30-foot pipes flat on the ground, spreading the tarp over the flat pipes, anchoring the tarp to the end pipes, then having pairs of people lift the ends of each pipe until they are vertical (ends pointed downward, middle curved up in a big arch). The pipe is then threaded onto its rebar stakes. Then the next pipe is lifted and placed, until all are curved into the air as ribs. Then a ladder is used inside the bay to tie the guy ropes to each rib.
The ground under the bay can be covered by rugs, GeoTek fabric, or otherwise made more comfortable. Generally the tarp will reach to the ground on the sides of the structure, sometimes leaving a gap of up to a foot if the tarp has shifted in the wind. The ends of the bay are generally left open to the wind. The combination of shade and wind keeps the inside of the structure comfortably cool.
Two bays can be attached end-to-end, merely by using an ordinary rib rather than an "end rib" where they join, and using a 40 x 30 foot tarp. This provides much deeper shade in the middle, particularly at low sun angles.
A "dome" bay can be built with a more complicated configuration of PVC pipes. More advance construction work is required to form the rigid angles in the top of the structure. See the photograph above; and look at both domes in the aerial photo. The dome has four corners; each corner has five PVC pipes which join there. Three of them curve across the top to the opposite corner, at different angles (one at 90 degrees, the others on either side of it). The other two pipes form standard Quonset "ribs" that connect to the adjecent corners. The pipes are covered by a square 30 by 30 foot tarp.
The three pipes that cross the top of the dome will not have the required alignment unless they are stiffened by a structure of larger PVC pipes constructed with right-angle connectors. The three pipes that reach the ground are threaded through the larger pipes. I hope that Clif can contribute a drawing and/or photo of this construct.
The dome bays provide a high, vaulted roof not unlike a cathedral's. This provides a more aesthetic space for performances, altars, and socializing. The dome bay can be freestanding (with guy wires reaching from the top of each side rib) or can have other dome bays or other cylindrical bays attached to it. In the photo, two domes are connected by a cylinder, and one of the domes has three other cylinders surrounding it, making the central dome a deeply shaded space.
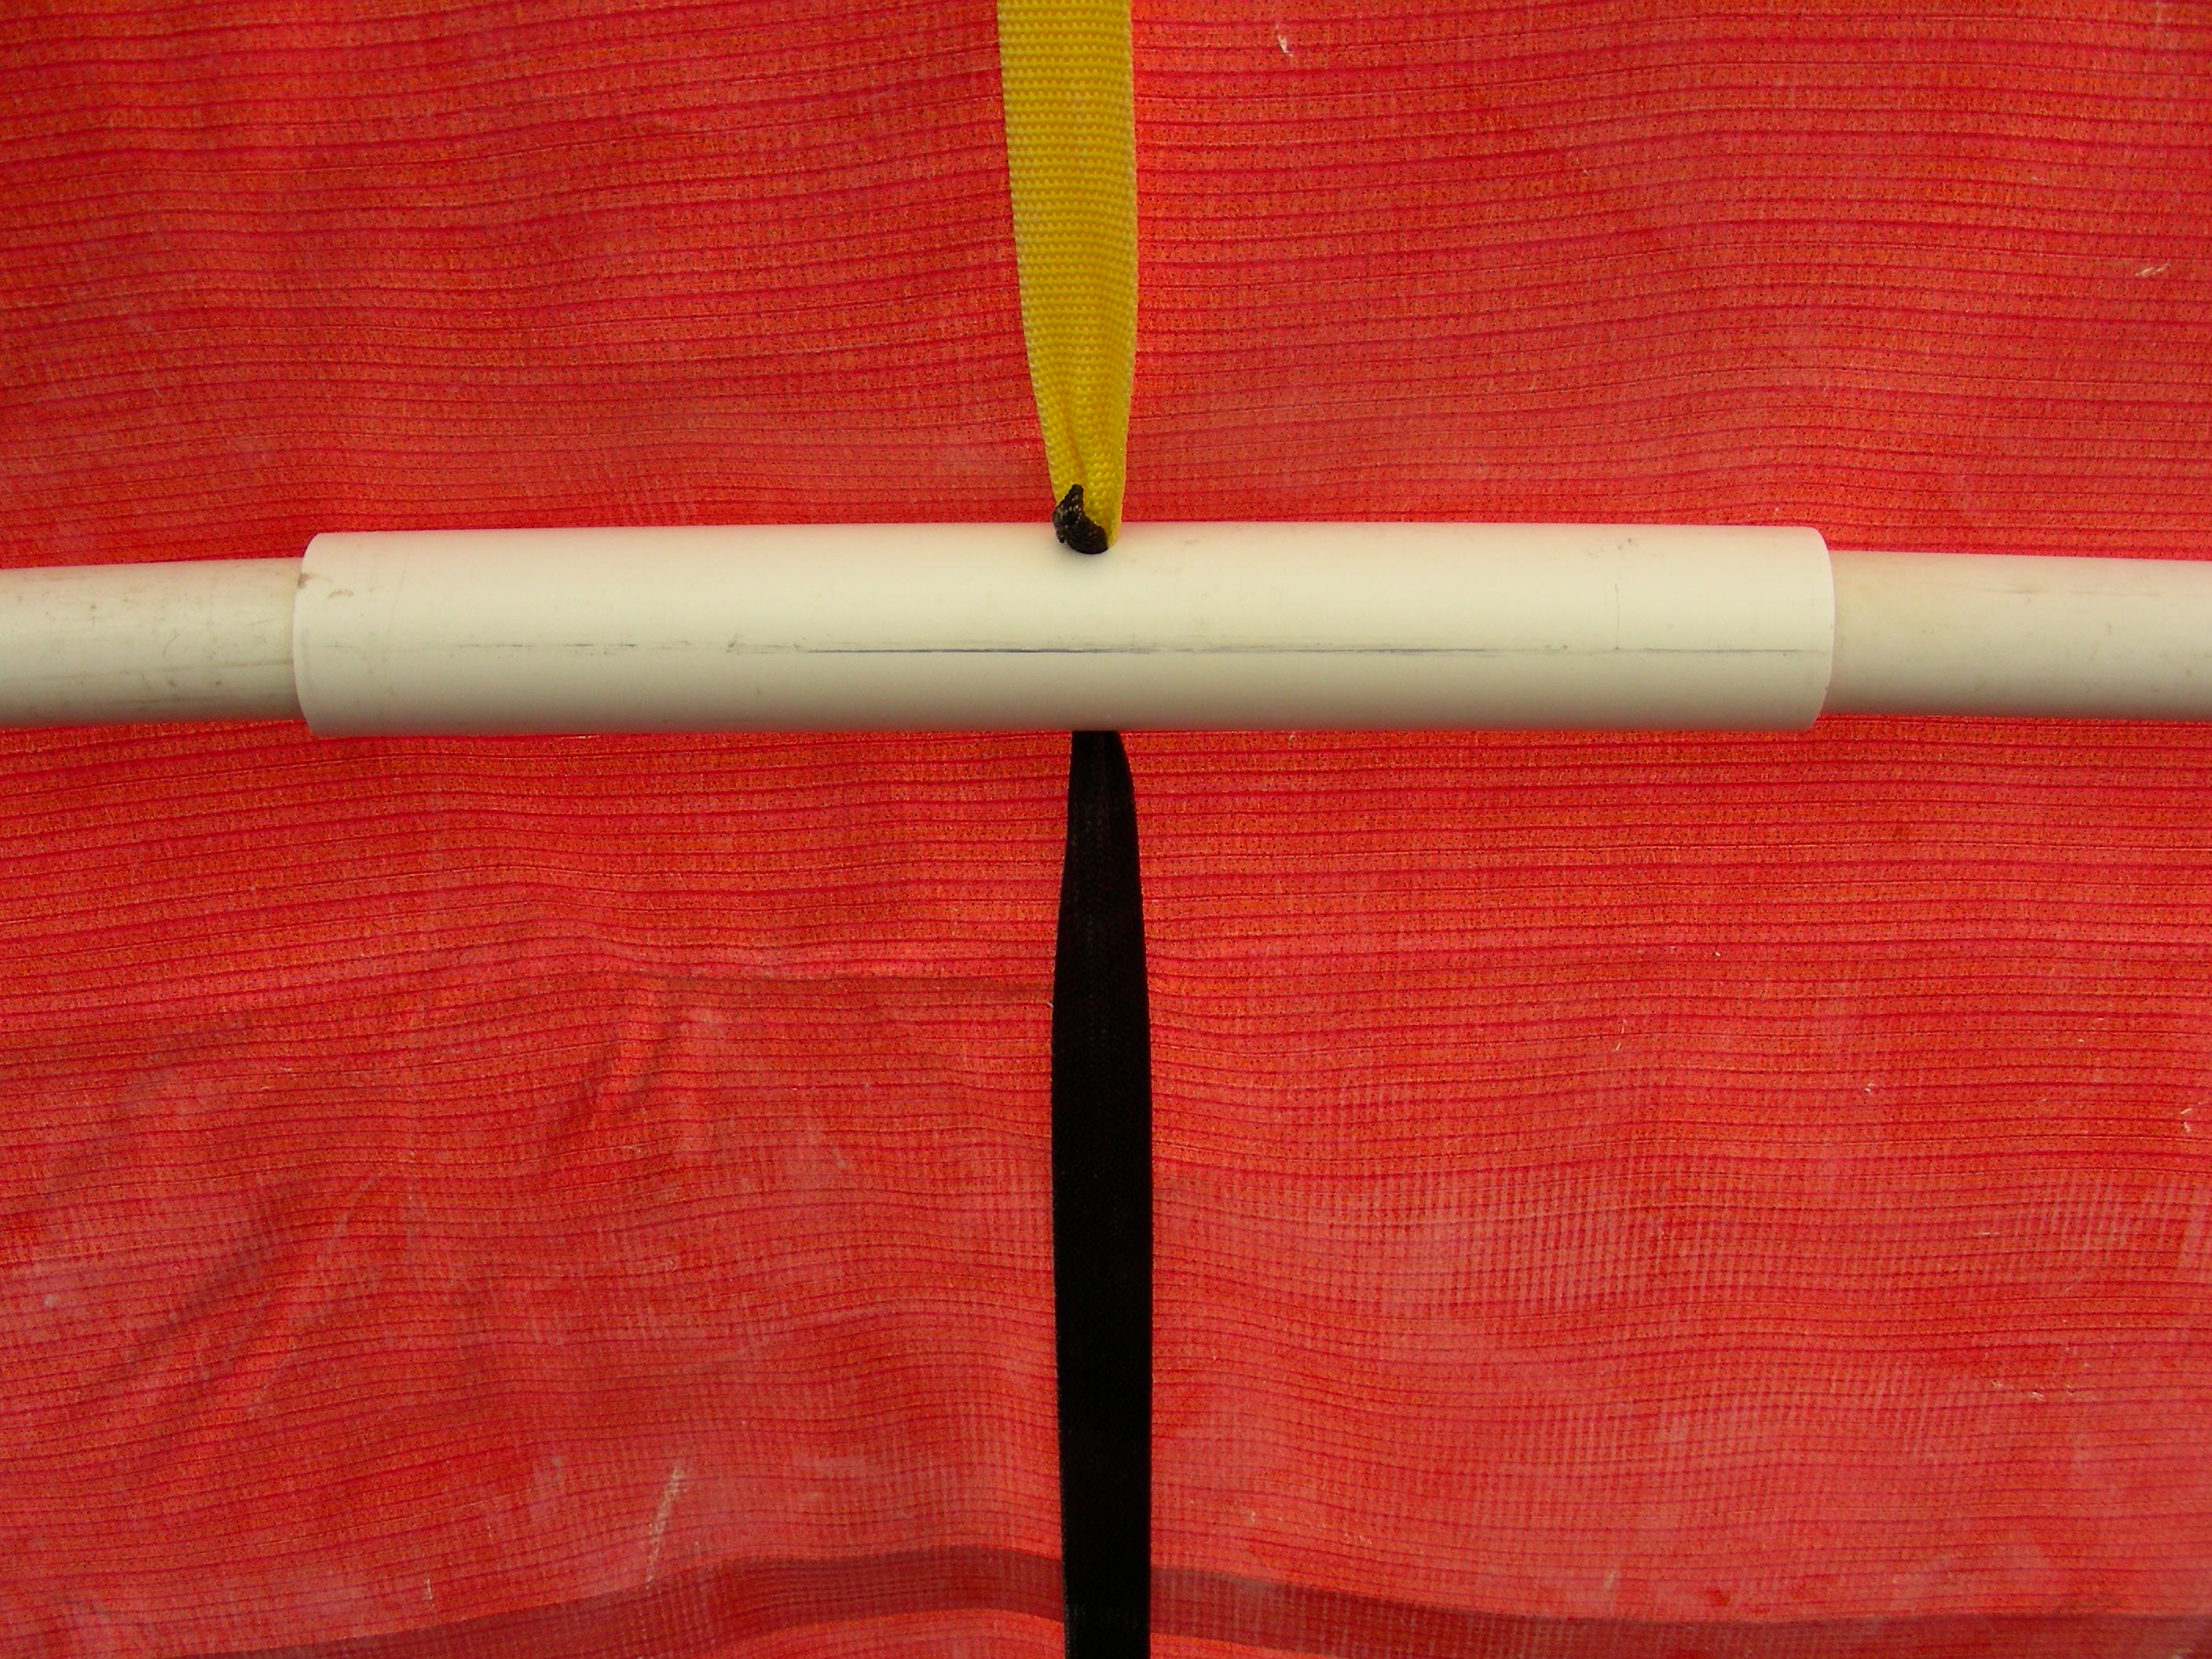
If you are lucky, you can buy these pipes with a slight widening at one end, which allows a second pipe to be inserted into that end. If you aren't lucky, you'll need to install your own connectors. Rather than connect these pipes with standard pipe connectors, which are not designed to take bending, they are connected using a 6-inch piece of 1-1/4 inch PVC pipe. If all of your pipes are identical 10-foot sections without widened ends, the central of the three pipes can be pre-assembled by gluing two 6-inch pieces of 1-1/4 inch pipe at its ends. The 6-inch pieces should be glued three inches deep, so there is another three-inch section available on each end, to insert an unmodified 10-foot 1-inch pipe into. Standard PVC glue works great. No other connectors are needed to keep the bent pipe together as a continuous 30-foot rib.
Another PVC shade structure builder suggests that the 6-inch pieces of wider pipe need not be glued to either 1-inch pipe. But his structure was only using 20-foot rather than 30-foot ribs. It doesn't work on 30-foot ribs when the wind blows; the connectors slide and the pipes pop apart.
The ribs are placed every 4 feet or so, so there are 6 of them in a bay of 20 feet (one at the zero point, and five more). If you double the ribs at the ends for strength, then it takes 8 ribs to make one bay; or 13 to make two bays.
More from Bob:
I really need to blog the arch design. 3 years now and we haven't been able to improve it. it might be close to optimized. Last year one of the arches got a weird torsion flex in it and it was hard to figure out what was going on. I suspect it was shoddy layout of the rebar. The rebar has to be symmetrical or you transfer loads to places they shouldn't be.I have attached a drawing of the basics. its a .gif but i could send you the native version in visio .vsd if you can use that. There are some triangles at the bottom of the drawing. these are used for laying out the second row of rebar parallel and square to the first row.
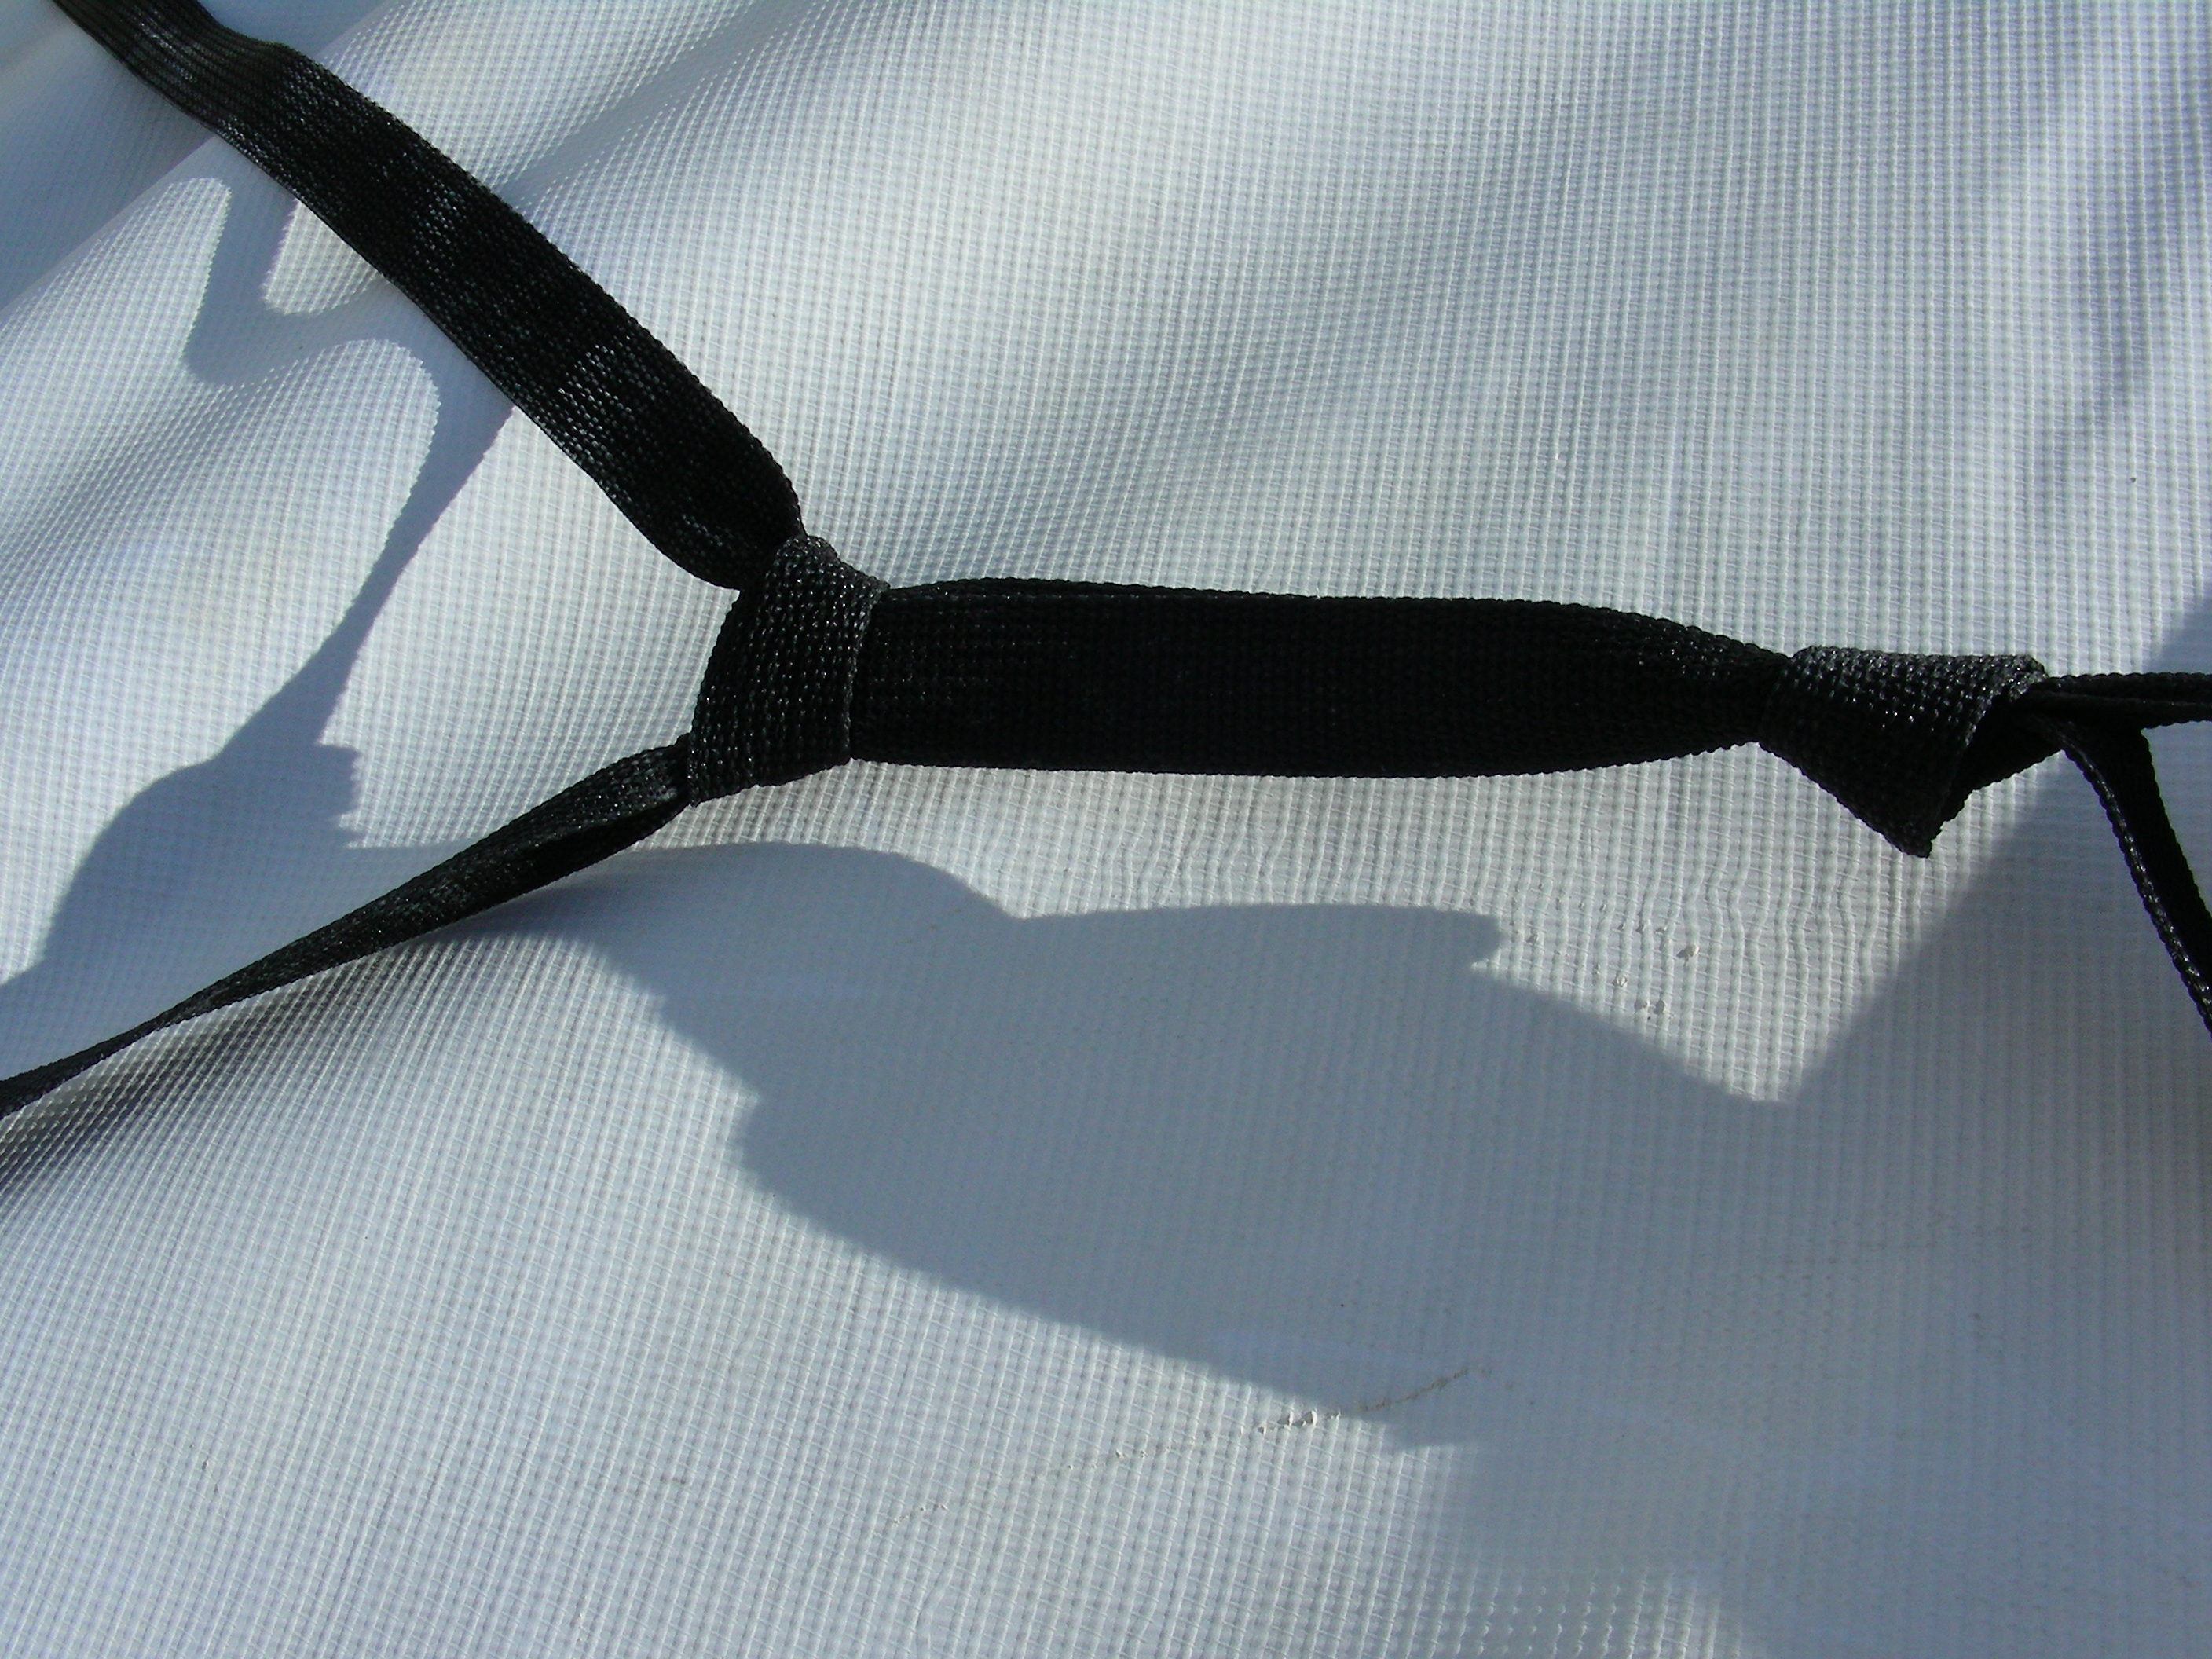
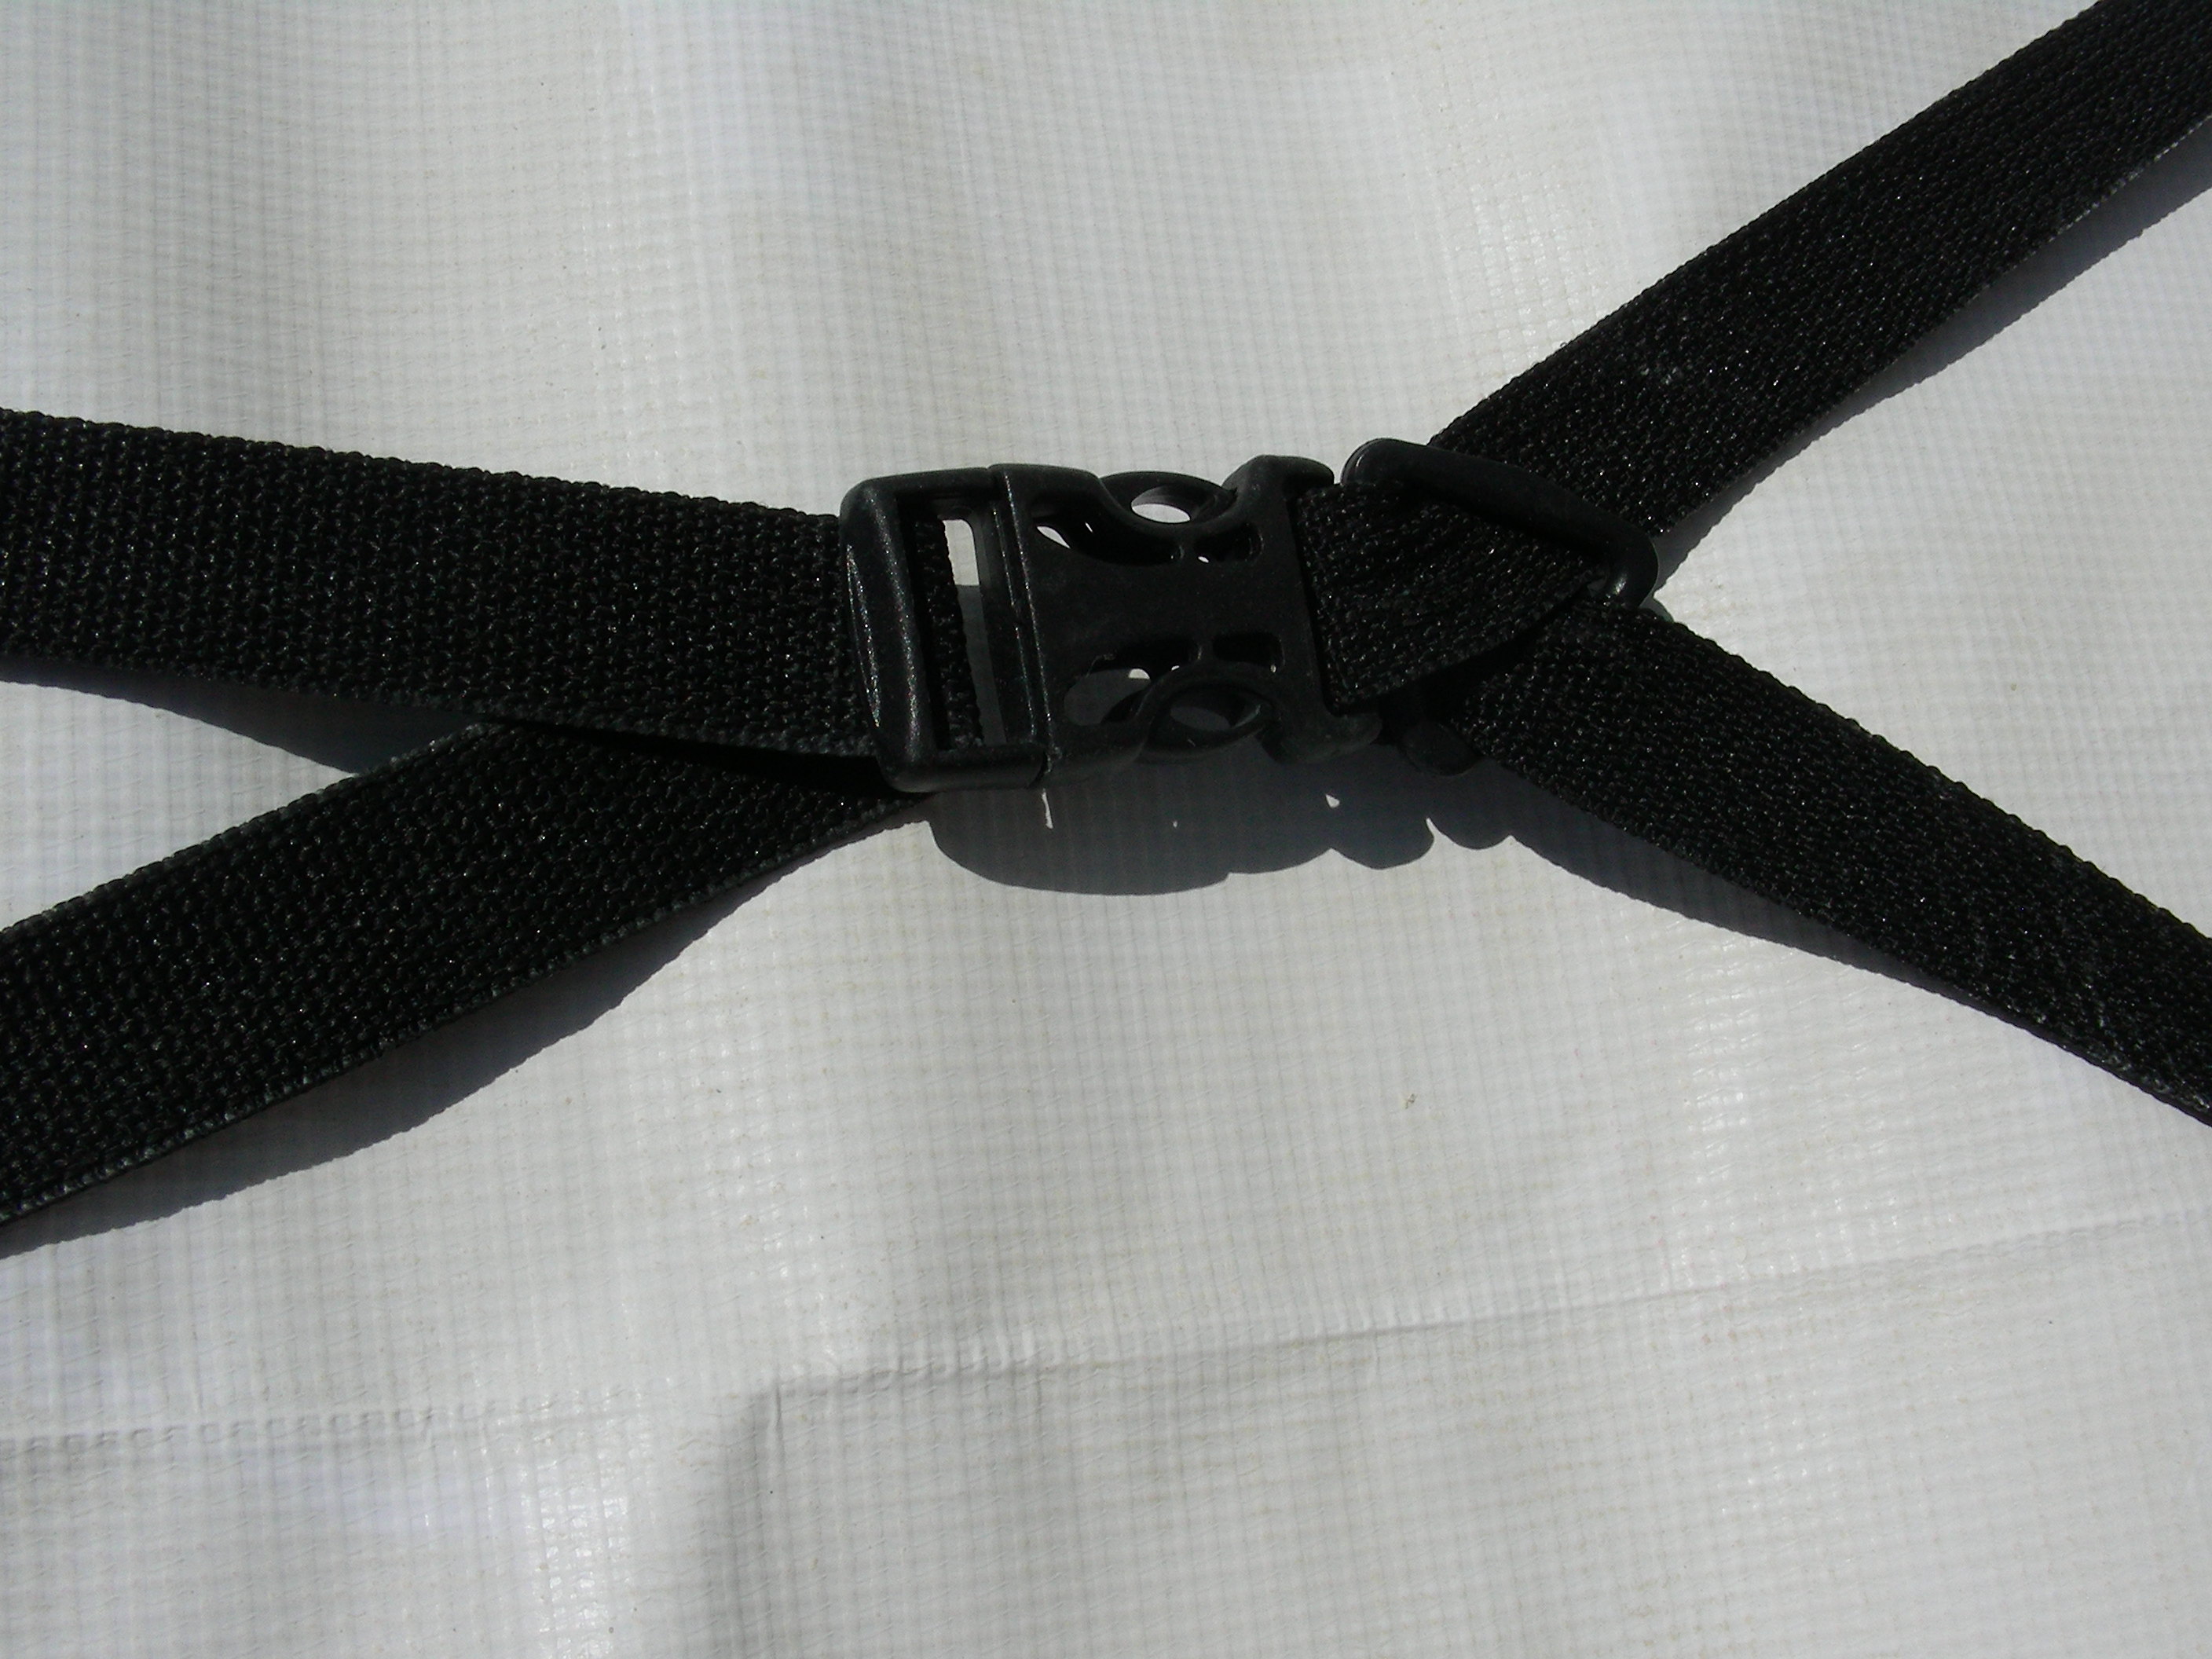
I found a few pictures that might help as well. But the gem of the design is a simple friction knot i use at the webbing rebar interface under the PVC pipes. I don't have a picture or drawing to describe it.
This will mean we use a lot less rope and have a much easier time adjusting the tension in the structure (just unsnapping a connector, sliding it along a belt, and resnapping it). It also requires half as many rebar stakes, because the webbing attaches to the same stakes as the PVC pipes; and it simplifies measuring on the ground, because the premade webs can be used to measure where to pound in the rebar.
Here is a diagram and some photos of that structure. Click on any of them to see or download a full-sized version.
I did find one page that contained an actual example that worked, after trolling around for an hour trying to figure out how to make an array of ribs. It described a simple non-intuitive 12-step process to make an array of alternating rotations of cylinders. And the results don't show up on the screen; you have to "render" it to see it (which involved installing more programs, without guidance; it just spat out error messages to the terminal window where I'd invoked it). I guess the guys who work on this program have very different goals than I do.